Log Homes

Log Homes
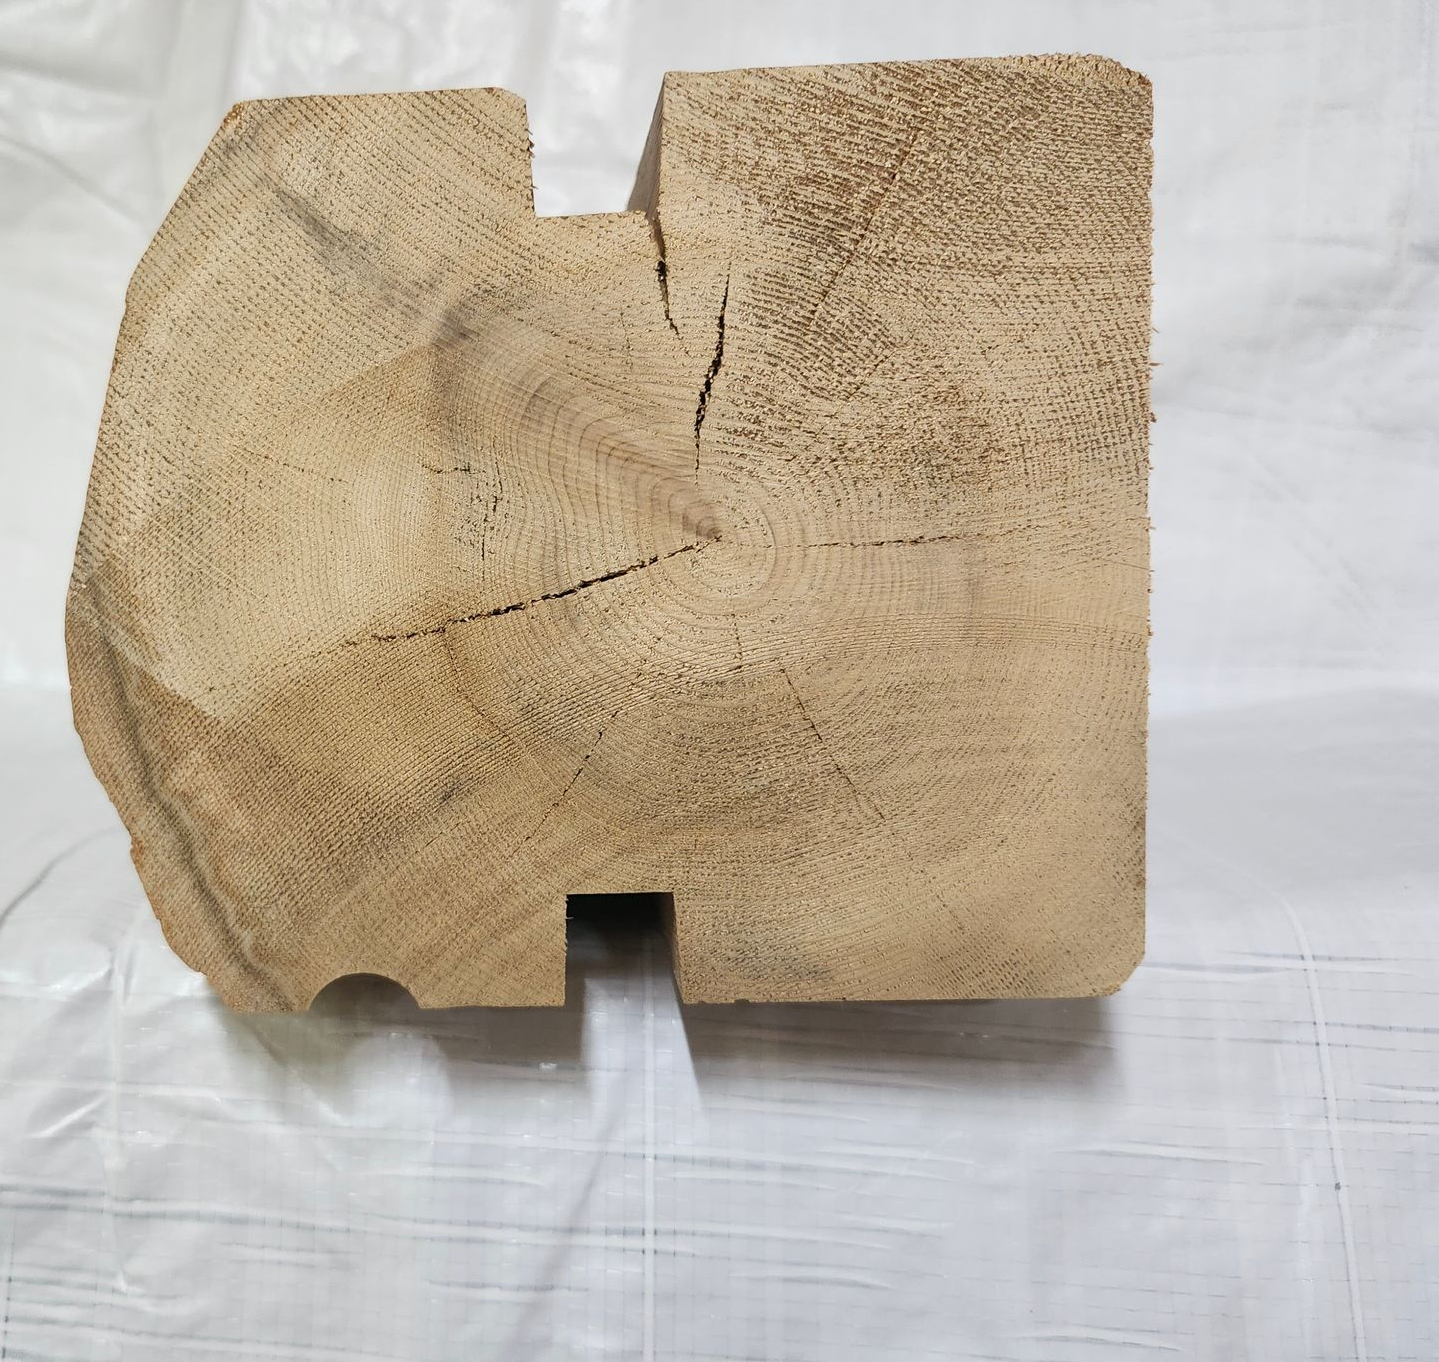
Goodridge Lumber is proud to offer quality white cedar logs from Vermont's Northeast Kingdom.
Goodridge Lumber obtains white cedar logs from their local area (a 75 mile radius), processes them at their sawmill and sells directly to their customers.
Sold by the lineal foot, these logs allow homeowners to build by themselves or with a contractor giving flexibility in the building plans and the ability to choose their own doors, windows, roofing and other building supplies.
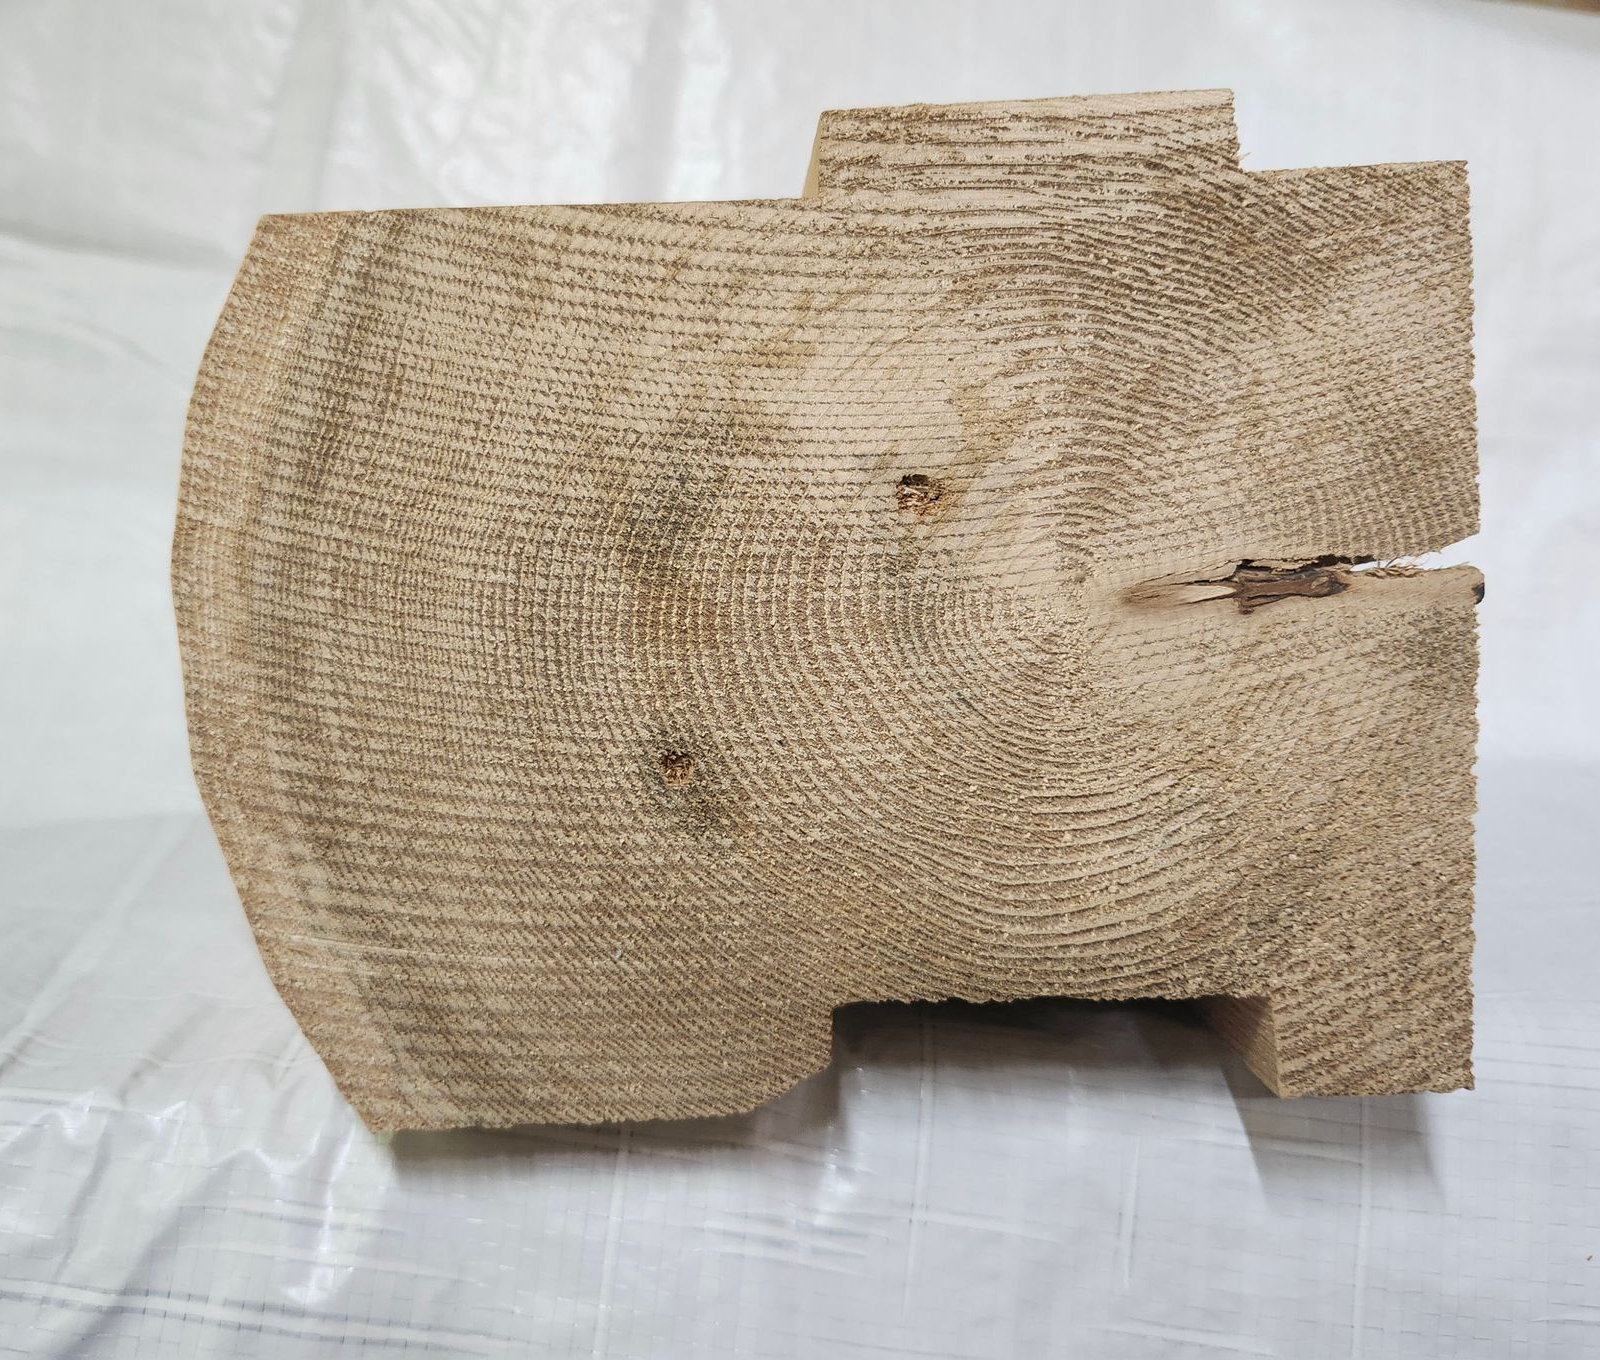
Cedar Logs
Goodridge Lumber offers a "D" log with the hand draw shaved, natural round; available in the groove and spline system(6” stack height) or the tongue and groove system (5 1/2” stack height).
Log lengths are a mixture of 6, 8, 10, and 12 foot. Log Home Fasteners are used, along with log home gaskets and Energy Seal, the sealant used between the log rows, butt joints, corners and around doors and windows.
Construction of a log home is a dream come true for many families. Goodridge Lumber feels that just as important as the building process is information on the care and maintenance of that special investment. Working closely with Perma-Chink Systems, the number one supplier of log home products in the world, has enabled them to provide that information and superior log home products. For all your log home needs from white cedar logs and lumber to Perma-Chink log home products, call Goodridge Lumber at 802-755-6298.
New Construction
General Guidelines
Sequence of Events For:
New Construction-Exterior
1. Clean home with Log Wash. Be sure to remove mill glaze.
2. Borate treatment (optional but recommended). Allow wood to dry.
3. Apply Energy Seal and Check Mate 2. Allow to cure at least 3 hours.
4. If more than 5 to 7 days have passed since step 1 or 2, wash down surface with Log Wash solution. Rinse well and allow to dry.
5. Apply Lifeline Stain.
6. Chink home if applicable.
7. Apply Log End Seal.
8. Apply Advance Topcoat.
General Guidelines
Sequence of Events For:
New Construction-Interior
1. Clean interior surface.
2. Stain with Lifeline Interior.
3. Apply a topcoat of Acrylic Gloss or Satin.
Note: Using these interior finishes will make it easier to clean interior walls and keep them from absorbing cooking orders. If the homeowner does not want a color on their interior walls, they can use Prelude, which is clear and contains UV Boost, for the first coat and then top with Acrylic Gloss or Satin.
4. Chink interior if applicable with Perma-Chink. Acrylic Gloss or Satin can be applied on top of Perma-Chink to help keep it clean.
5. Apply Sure Shine Gloss or Satin to interior floors.
Restoring an Existing Home
General Guidelines
Sequence of Events When:
Restoring an Existing Home
1. Repair rot spots, damage, etc.
2. Energy seal around windows, doors, butt joints. This will help prevent water or blasting media from getting inside.
3. Clean/strip the old finish. Rinse well and allow wood to dry.
4. Borate treatment (optional). Allow to dry.
5. If more than 5 to 7 days have passed since step 3 or 4, wash down surface with a diluted Log Wash solution. Rinse well and allow to dry.
6. Energy Seal areas where water or media entered home. Apply Check Mate 2. Allow to cure at least 3 hours.
7. If blasted, apply Prelude, then stain. If pressure washed, apply stain.
8. Repair, restore chinking if applicable.
9. Apply Log End Seal, Chink Paint.
10. Apply Advance Topcoat.